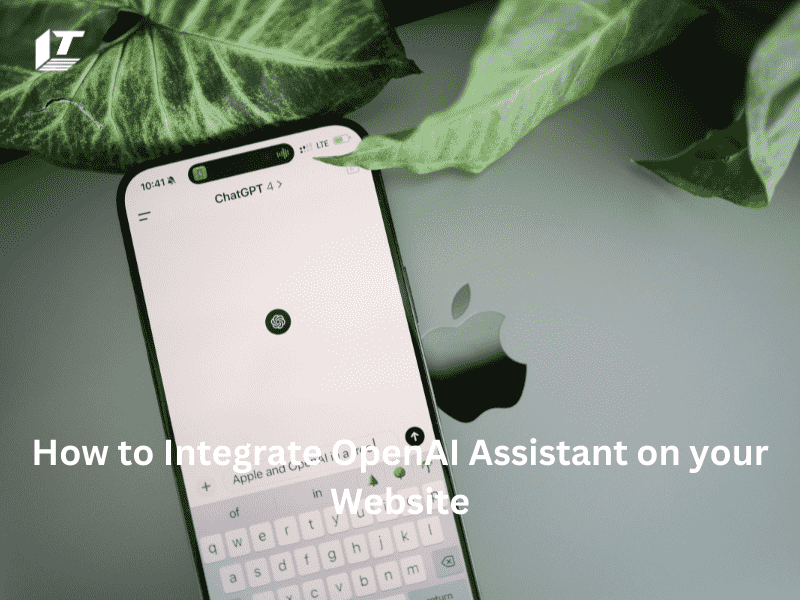
By offering automated, intelligent answers to questions, among other features, integrating OpenAI Assistant into your WordPress website can improve user interaction. This quick tutorial shows you how to use WordPress to build an OpenAI assistant and integrate it into your website.
Step 1: make an OpenAI assistant
Create an assistant to get started with:
• Go to OpenAI Assistant to access the OpenAI platform.
• In the upper right corner, click the “Create” button.
• Give your helper a name and indicate the guidelines he must follow, such as the assistant’s mission. For example, explain that your assistant should only answer inquiries about “financials” if he or she is handling financial questions.
• Select the OpenAI model. For best results, it is recommended to use the latest model (gpt-4-turbo-2024-04-09), although there are alternatives. The OpenAI manual has a full description of the models and their functions.
• Upload any support files, such as pricing sheets, information and specification sheets, and the like, that your support staff may need.
Saved as you go:
• Your work should be saved by Assistant as you go. The update date/time in the bottom left corner of Assistant is a good way to confirm if your changes have been saved.
Step 2: Testing Assistance
Testing in Playground:
• Make sure your assistant can adequately answer the types of questions it will encounter on your website by testing it before integrating it with your website. The playground can be accessed by clicking the button located in the upper right corner.
• Make a copy of the Assistant’s ID as it will be required for integration. The format in which it appears is asst_tQ0mw62OFCVNUiX6yxZ2N9Tz. This is your identity as a contributor.
Step 3: Connect Your Website to It
Choose an integration style:
• Choose whether you want the chatbot to be an embedded element on your website or displayed floating.
Enhance your website with:
• Replace the placeholder Assistant ID with the ID you’ve already copied, then use the corresponding shortcode for your preferred style:
Chatbot style = floating Assistant = asst_yourAssistantID is a floating style.
chatbot style: embeddedAssistant = asst_yourAssistantID; Embedded style
• Step 4: Check This Out on Your Website:
Check your website after integration to make sure the chatbot is working. Experiment with different queries to make sure it works as you expect.
Note: Please be advised that the responses generated by the Assistant may vary depending on the input given and the specific setup settings of the Assistant. Always think about fine-tuning and testing the wizard to make sure it meets your unique requirements and standards.
Final Thoughts
By using WordPress to integrate OpenAI Assistant into your WordPress website, you can greatly increase user engagement and speed up interactions. Make sure you check the instructions you have provided to your helper and make any necessary adjustments.
You can improve your website’s functionality by following these steps to effectively set up and use an AI-powered chatbot.
Meet Jack Smith your trusted source for cutting-edge insights in the world of technology. With a deep understanding of emerging trends and a knack for translating technical jargon into actionable advice, He empower readers to stay ahead in the fast-paced tech industry. Join him on a journey of discovery as he unravel the mysteries of innovation and explore the limitless potential of tomorrow’s technology.

